Had myself a vintage apple day… —
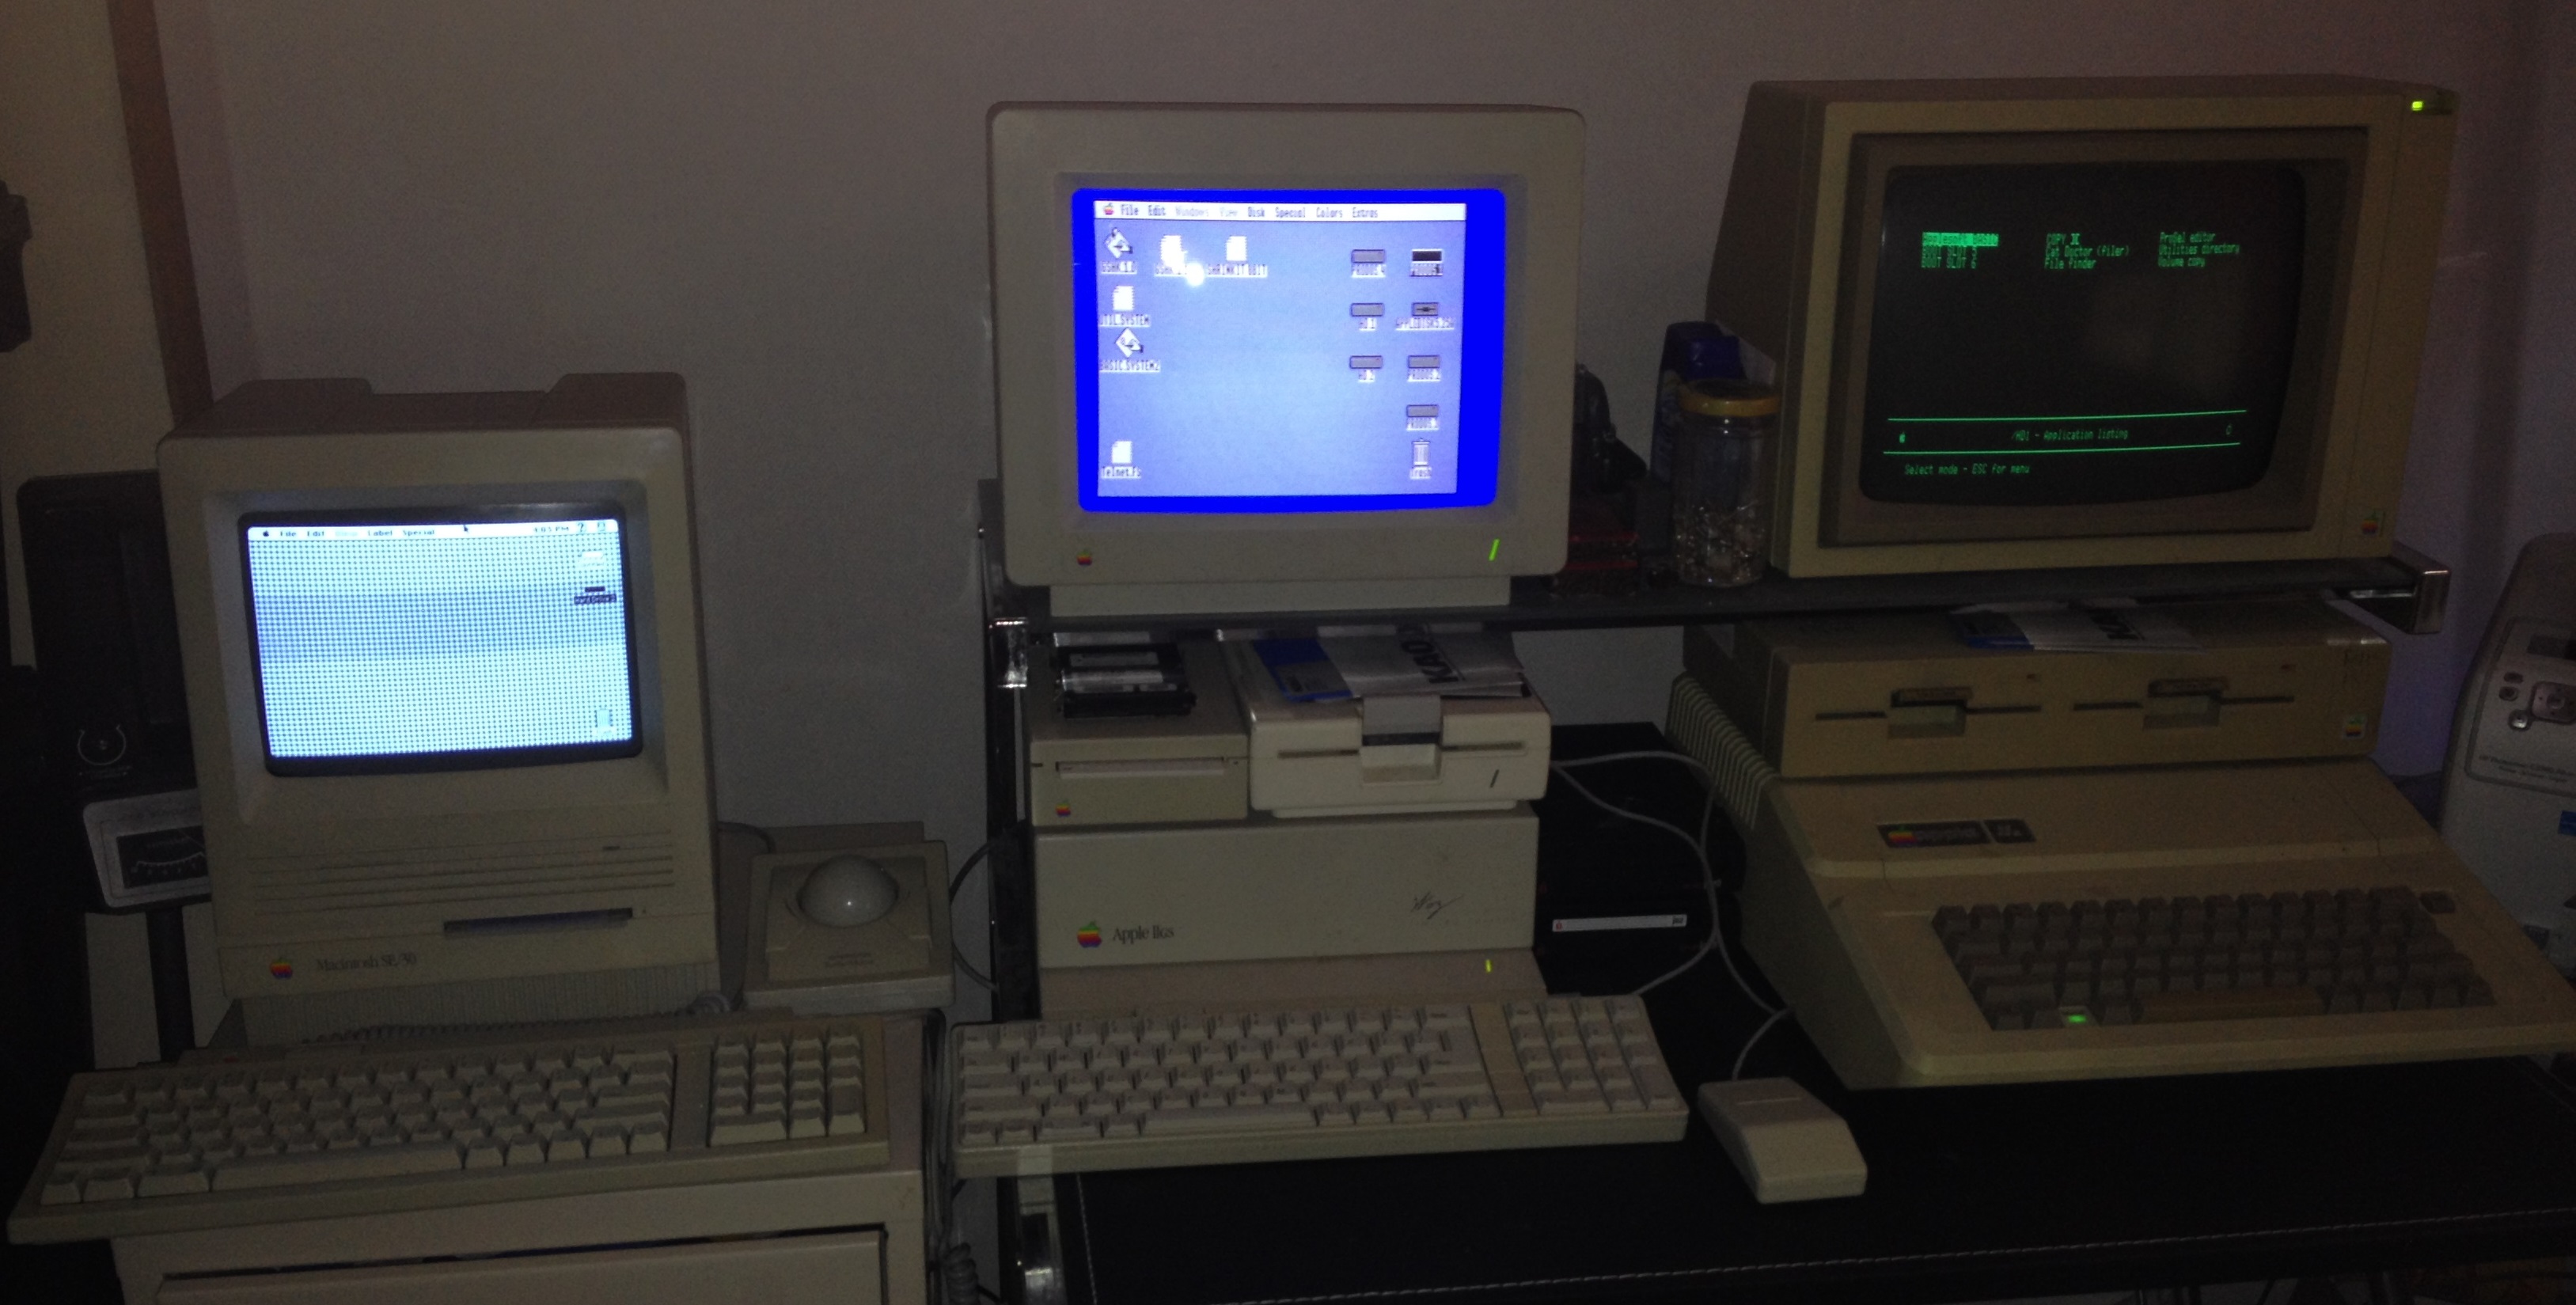
I was sick this past weekend and decided to have some fun with a few of my vintage apples to pass the time 😉
My Vintage Computer Virtual Museum and blog page.
I was sick this past weekend and decided to have some fun with a few of my vintage apples to pass the time 😉
I am in search of two different “laptop” portables from the late 80’s.
If anyone has any leads on either one it would be much appreciated. My offer on price is conditional on functionality and cosmetic condition.
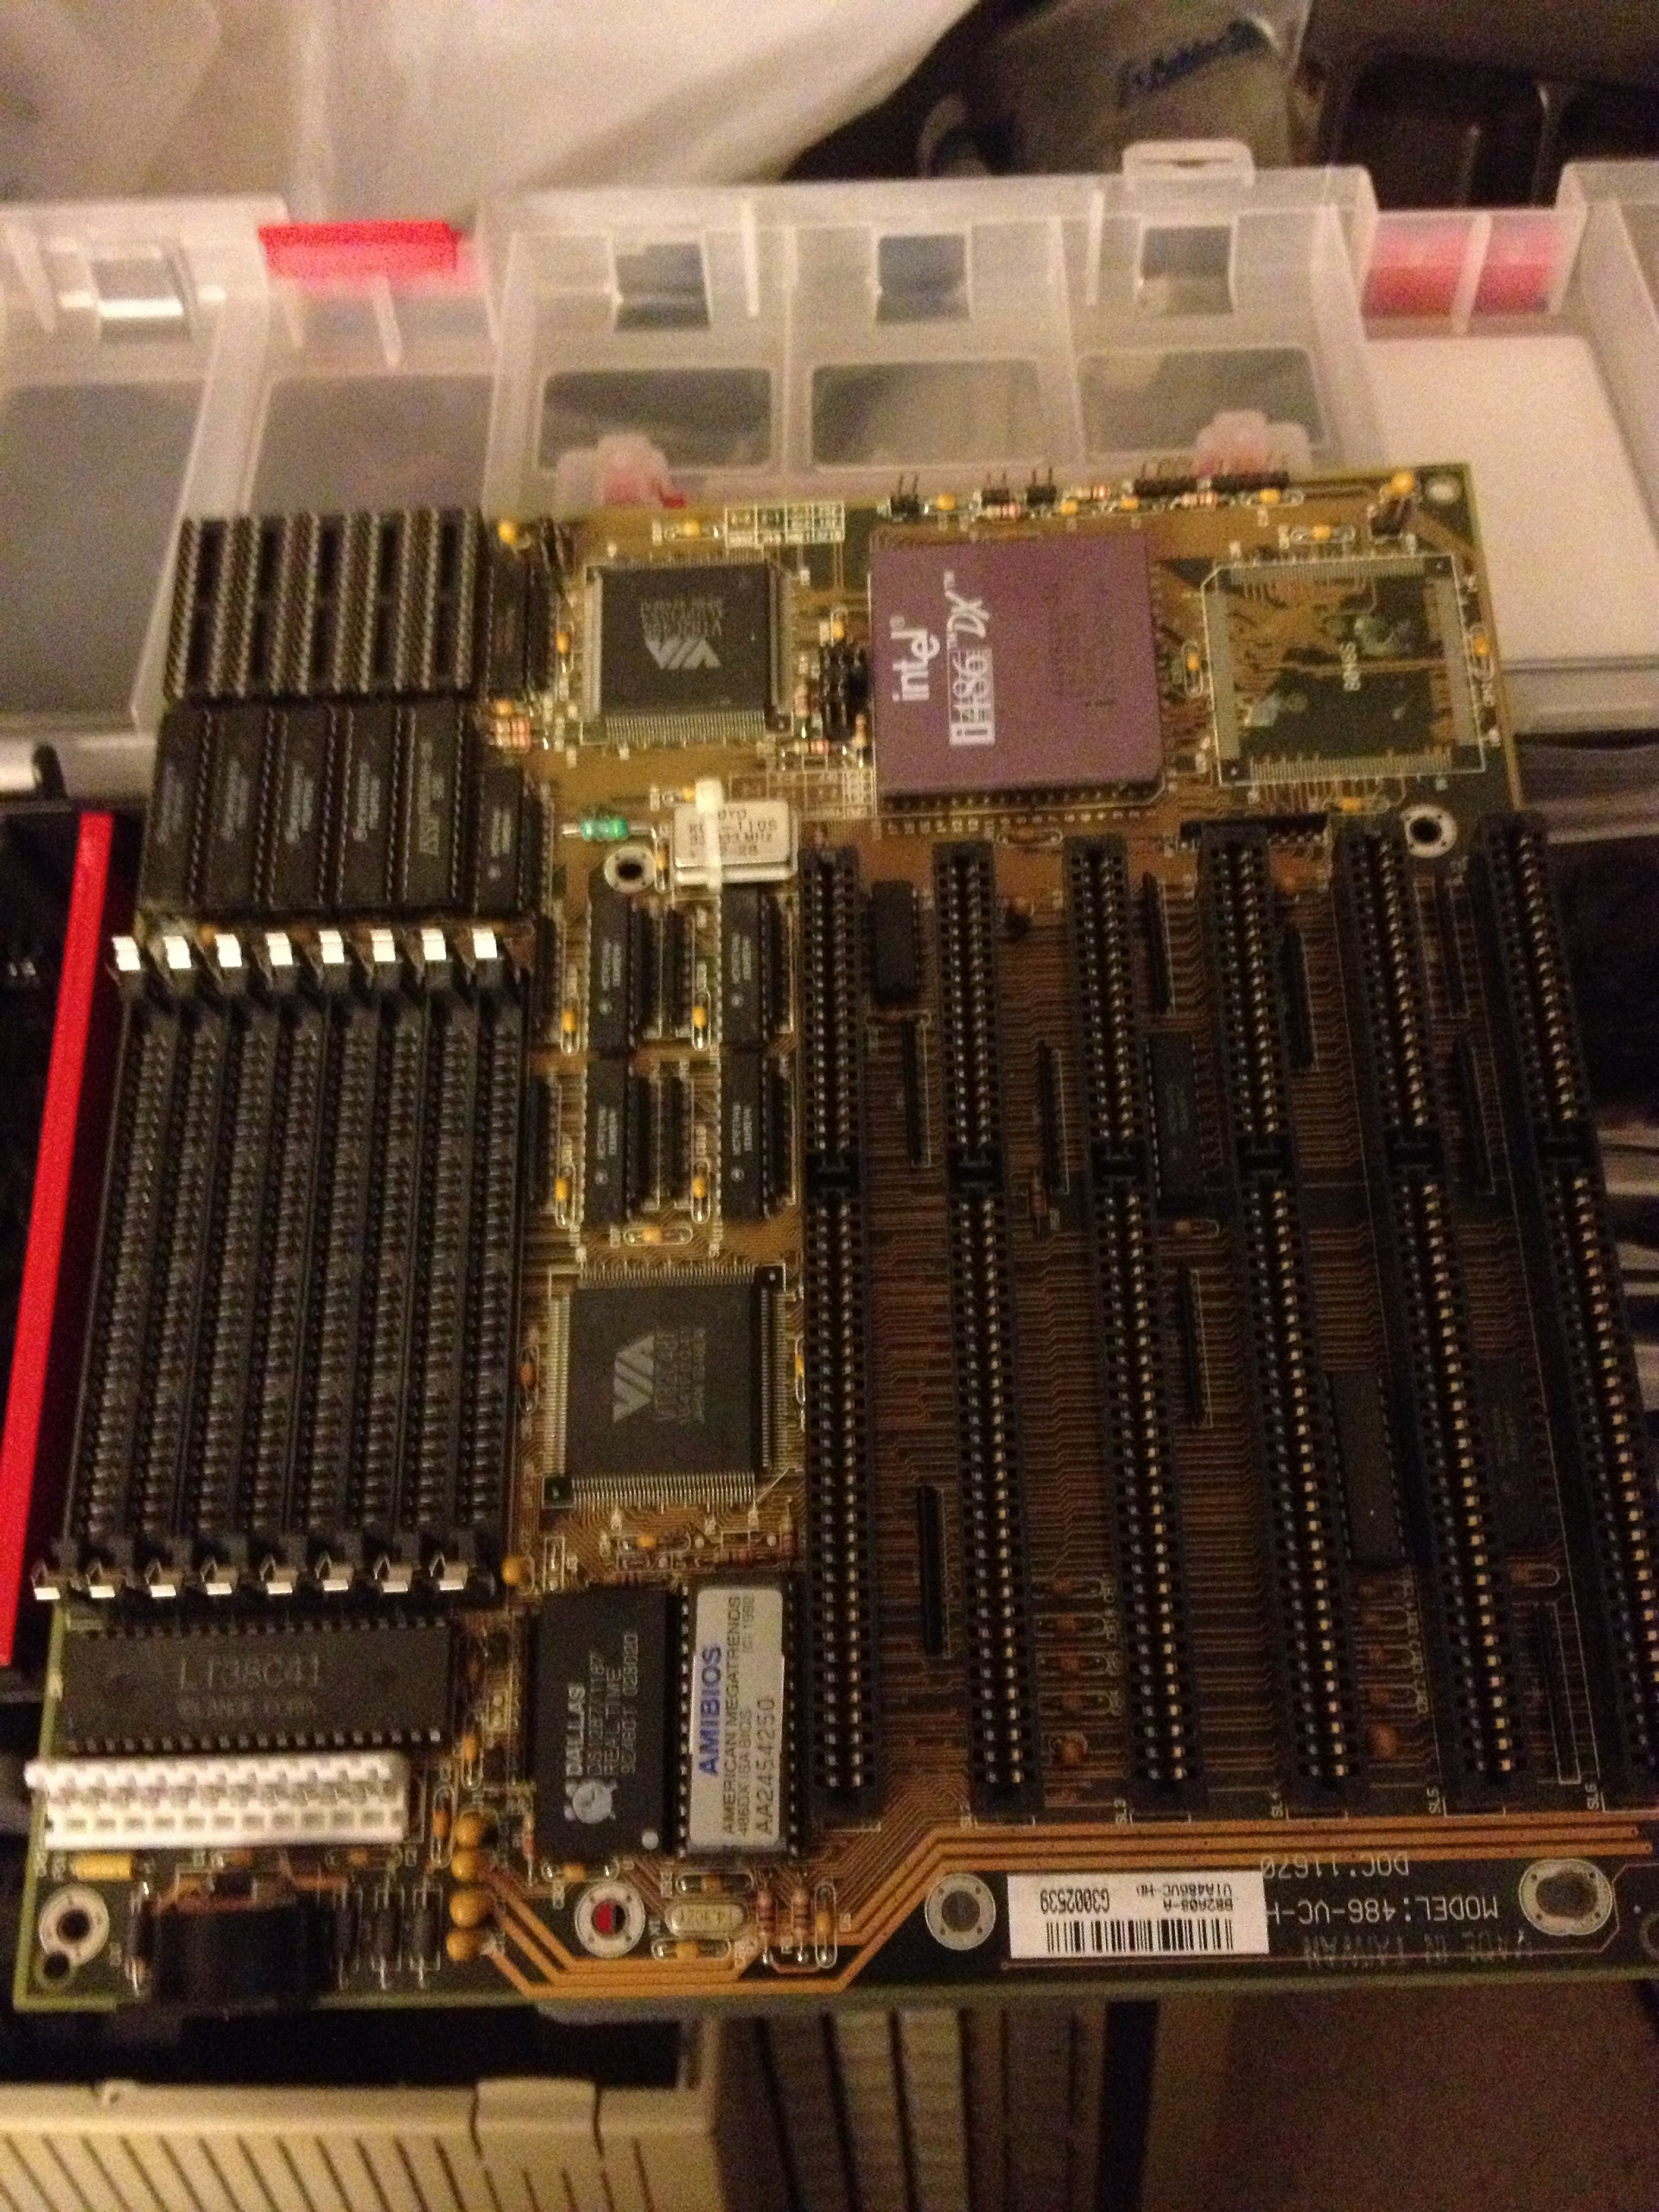
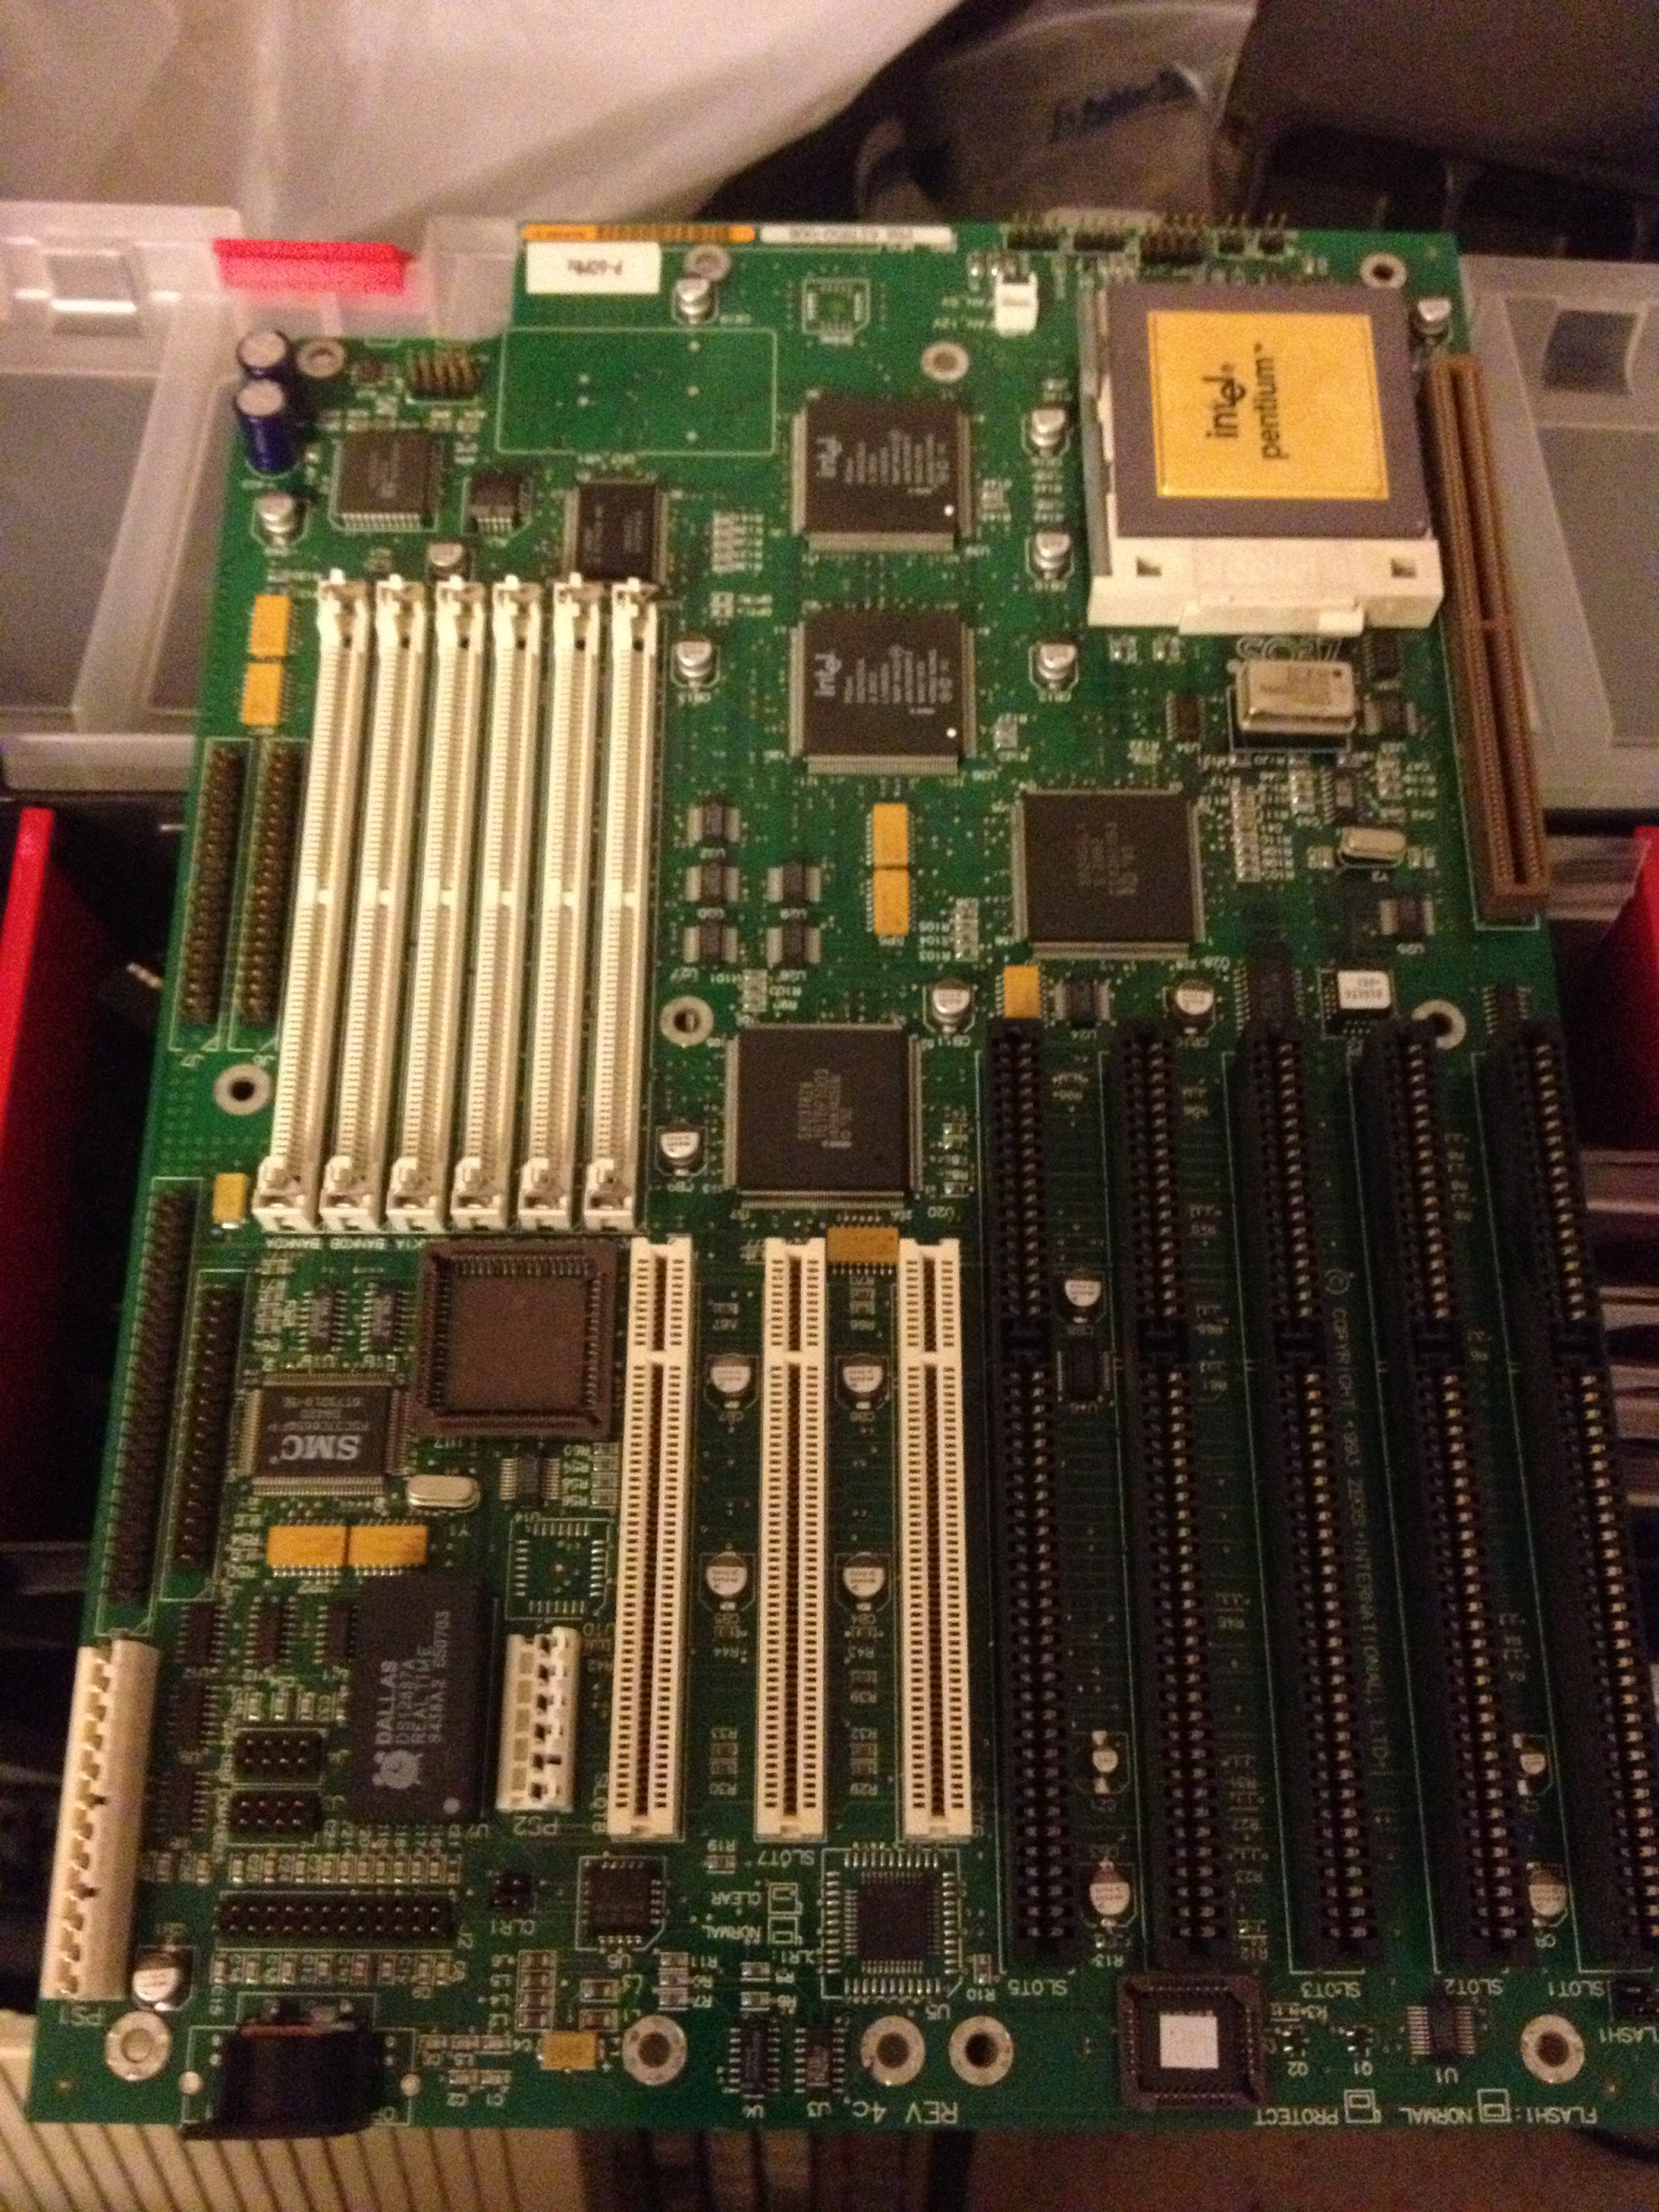
Found a few old motherboards in my storage, for some odd reason all 3 were missing their AT keyboard ports. Put in an order to digikey for some 5-Din AT Keyboards ports and soldered them in. The Acer Pentium board also had a badly leaking capacitor that was replaced.
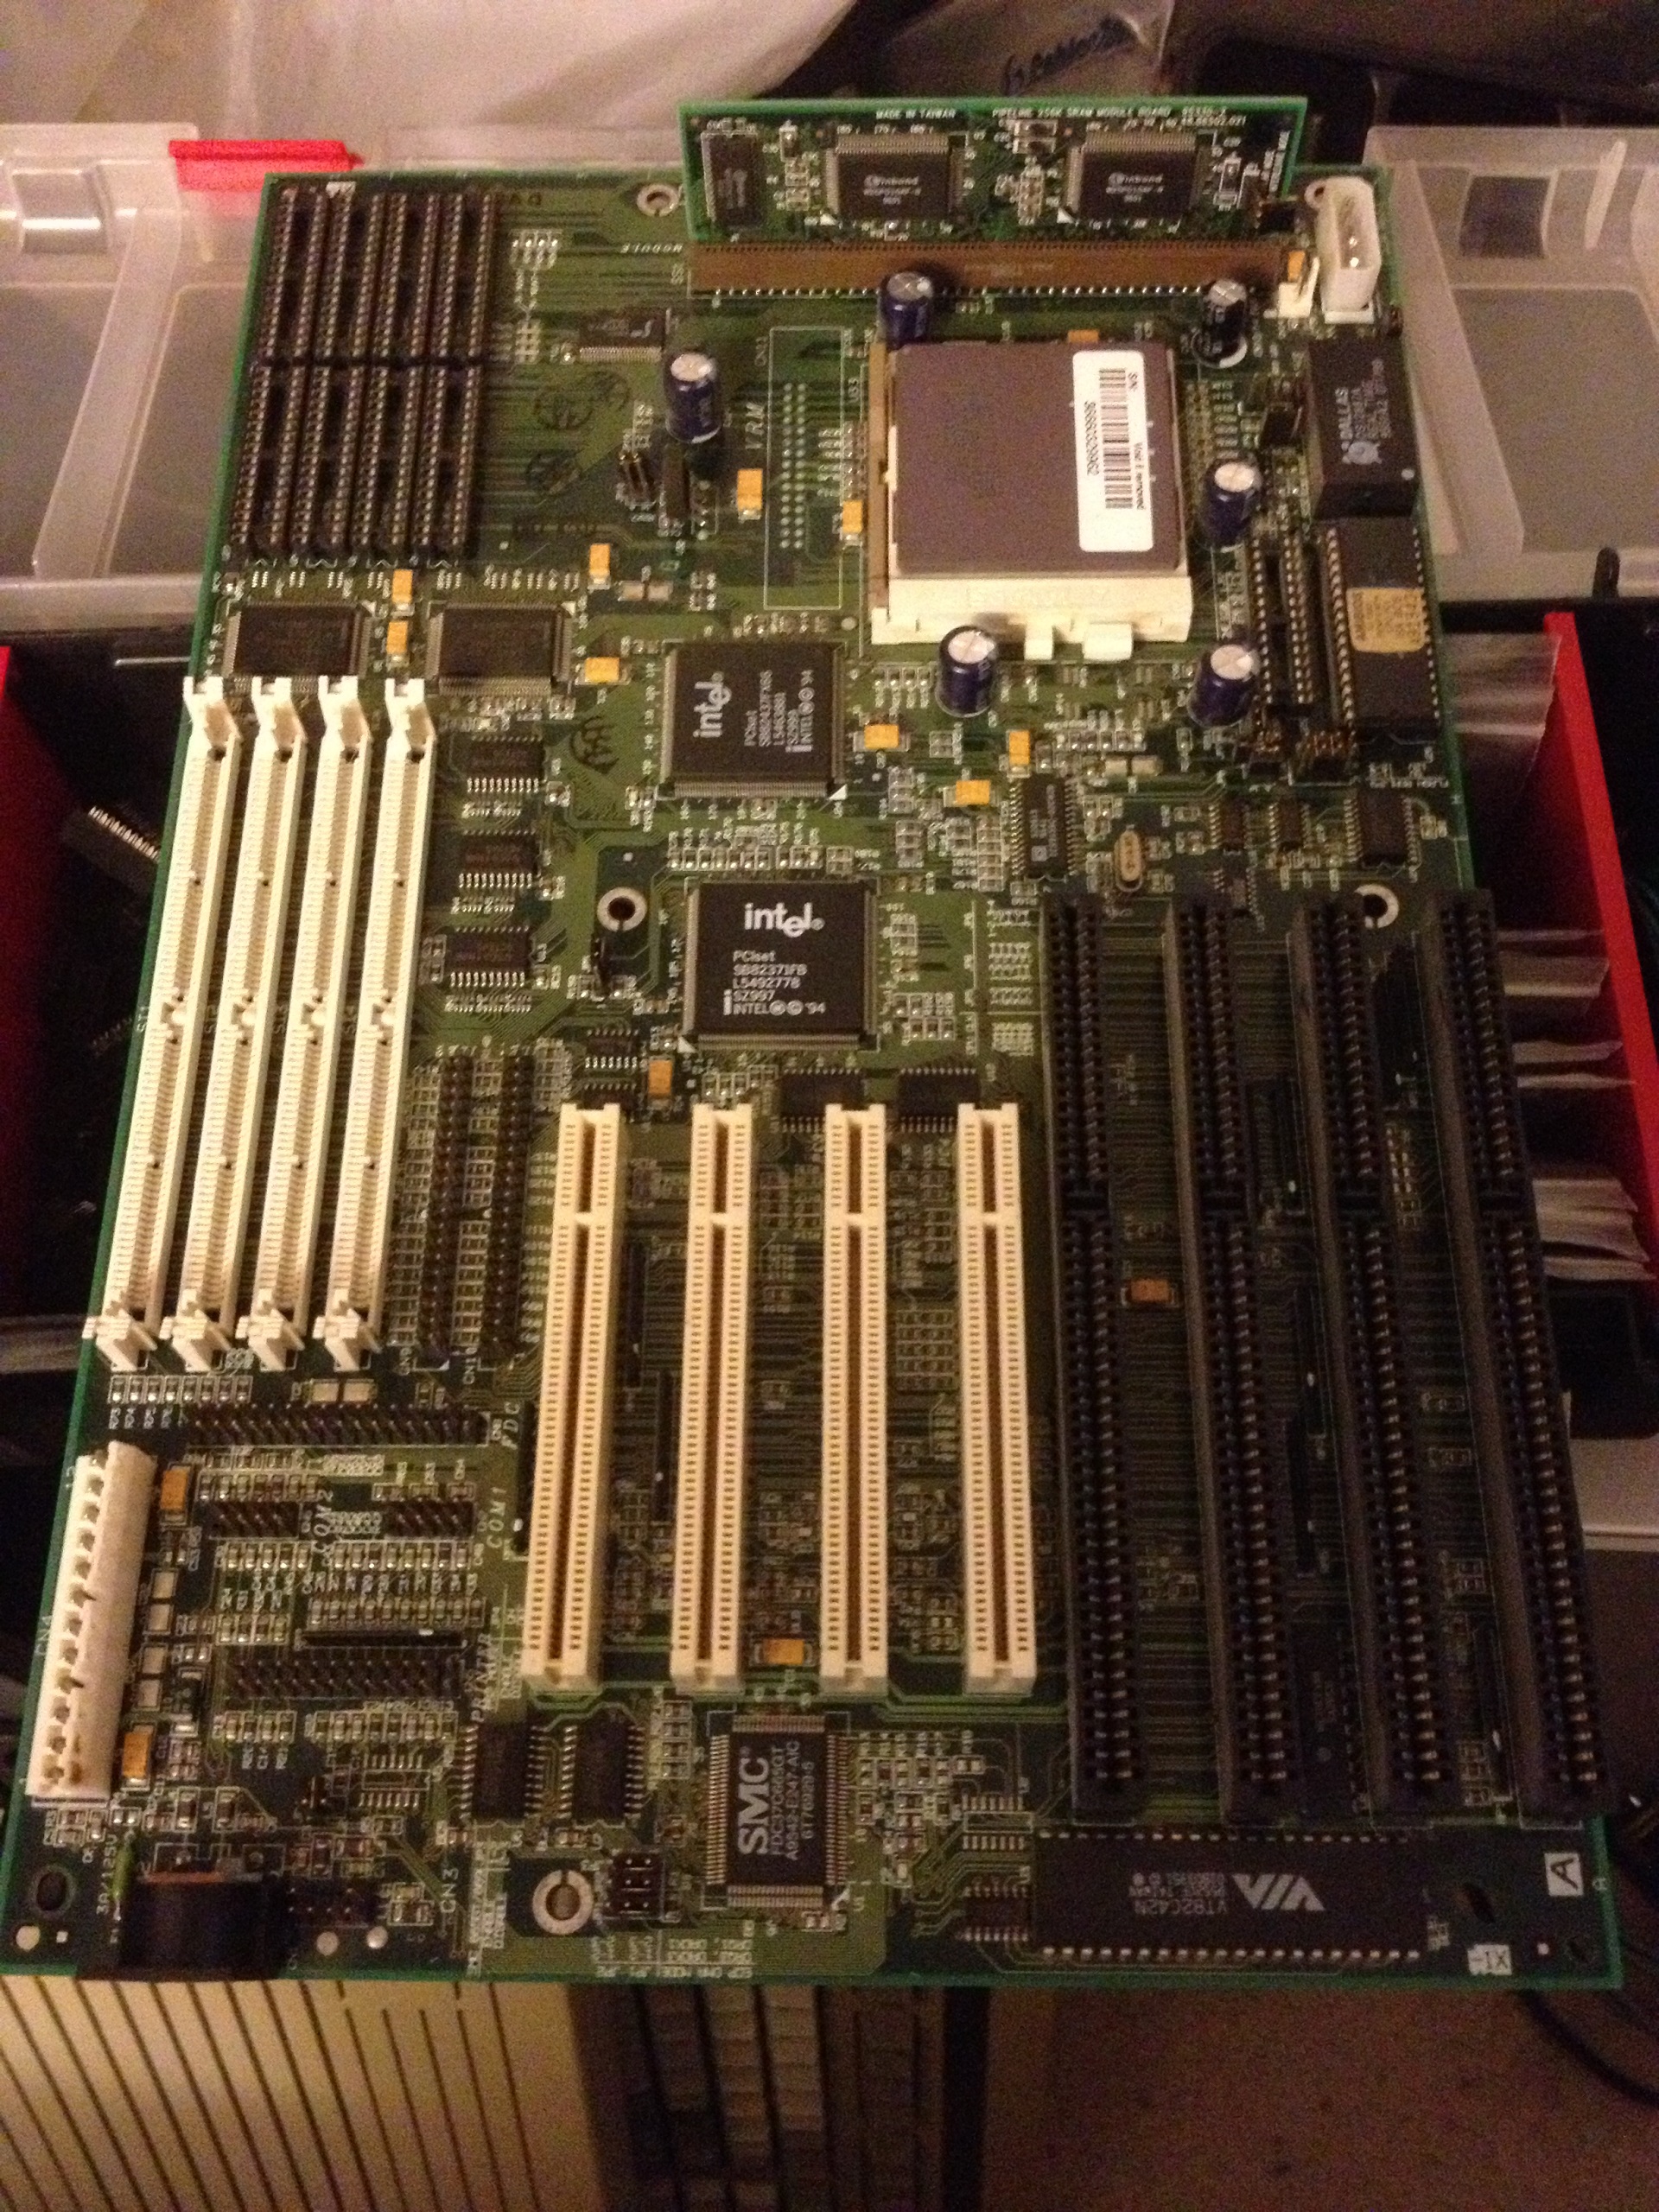
Followup, The Acer board does not POST, not sure what its problem is, need to get a POST card to see whats hanging up.
On the plus side, the Zeos P60 and FIC 486 both POST, so they will soon be working machines!
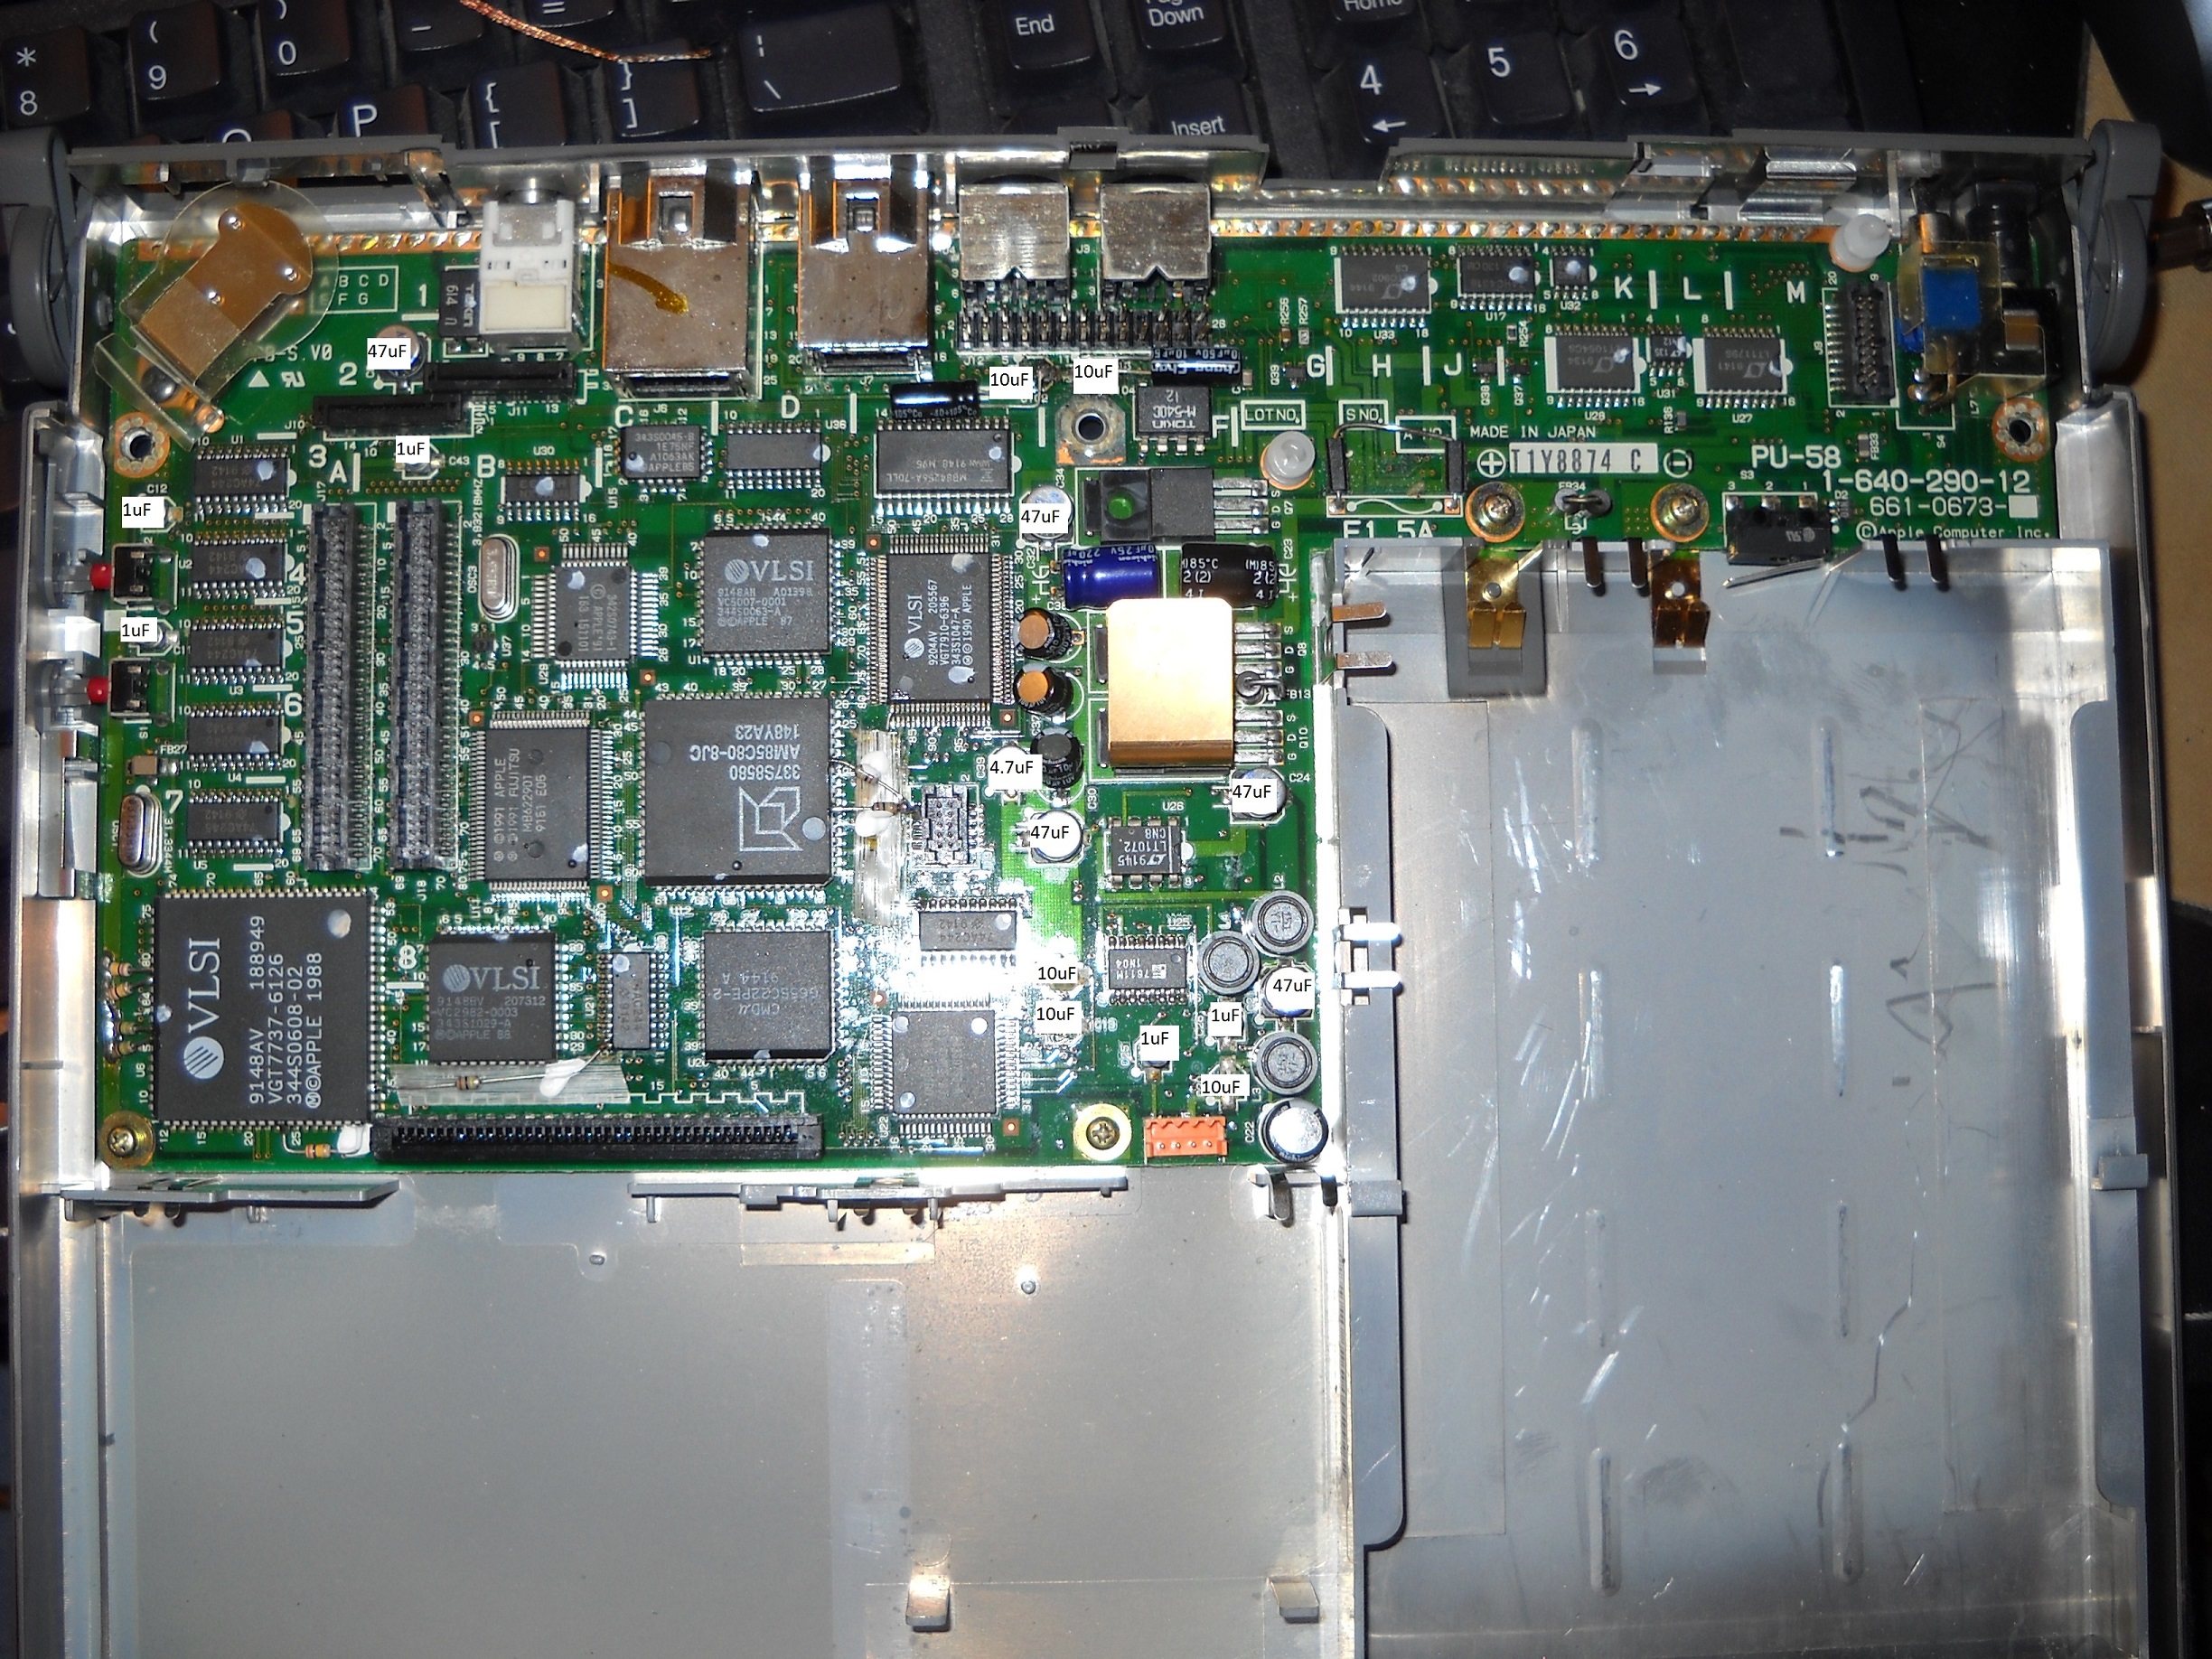
I have partially recapped my PowerBook 100 with great success, it now boots up.
The down side is my soldering iron crapped out mid-project, so I will have to finish replacing all the old SMD aluminum caps later, but I got all the ones that were visibly leaking, and it now boots, so I will consider this a win.
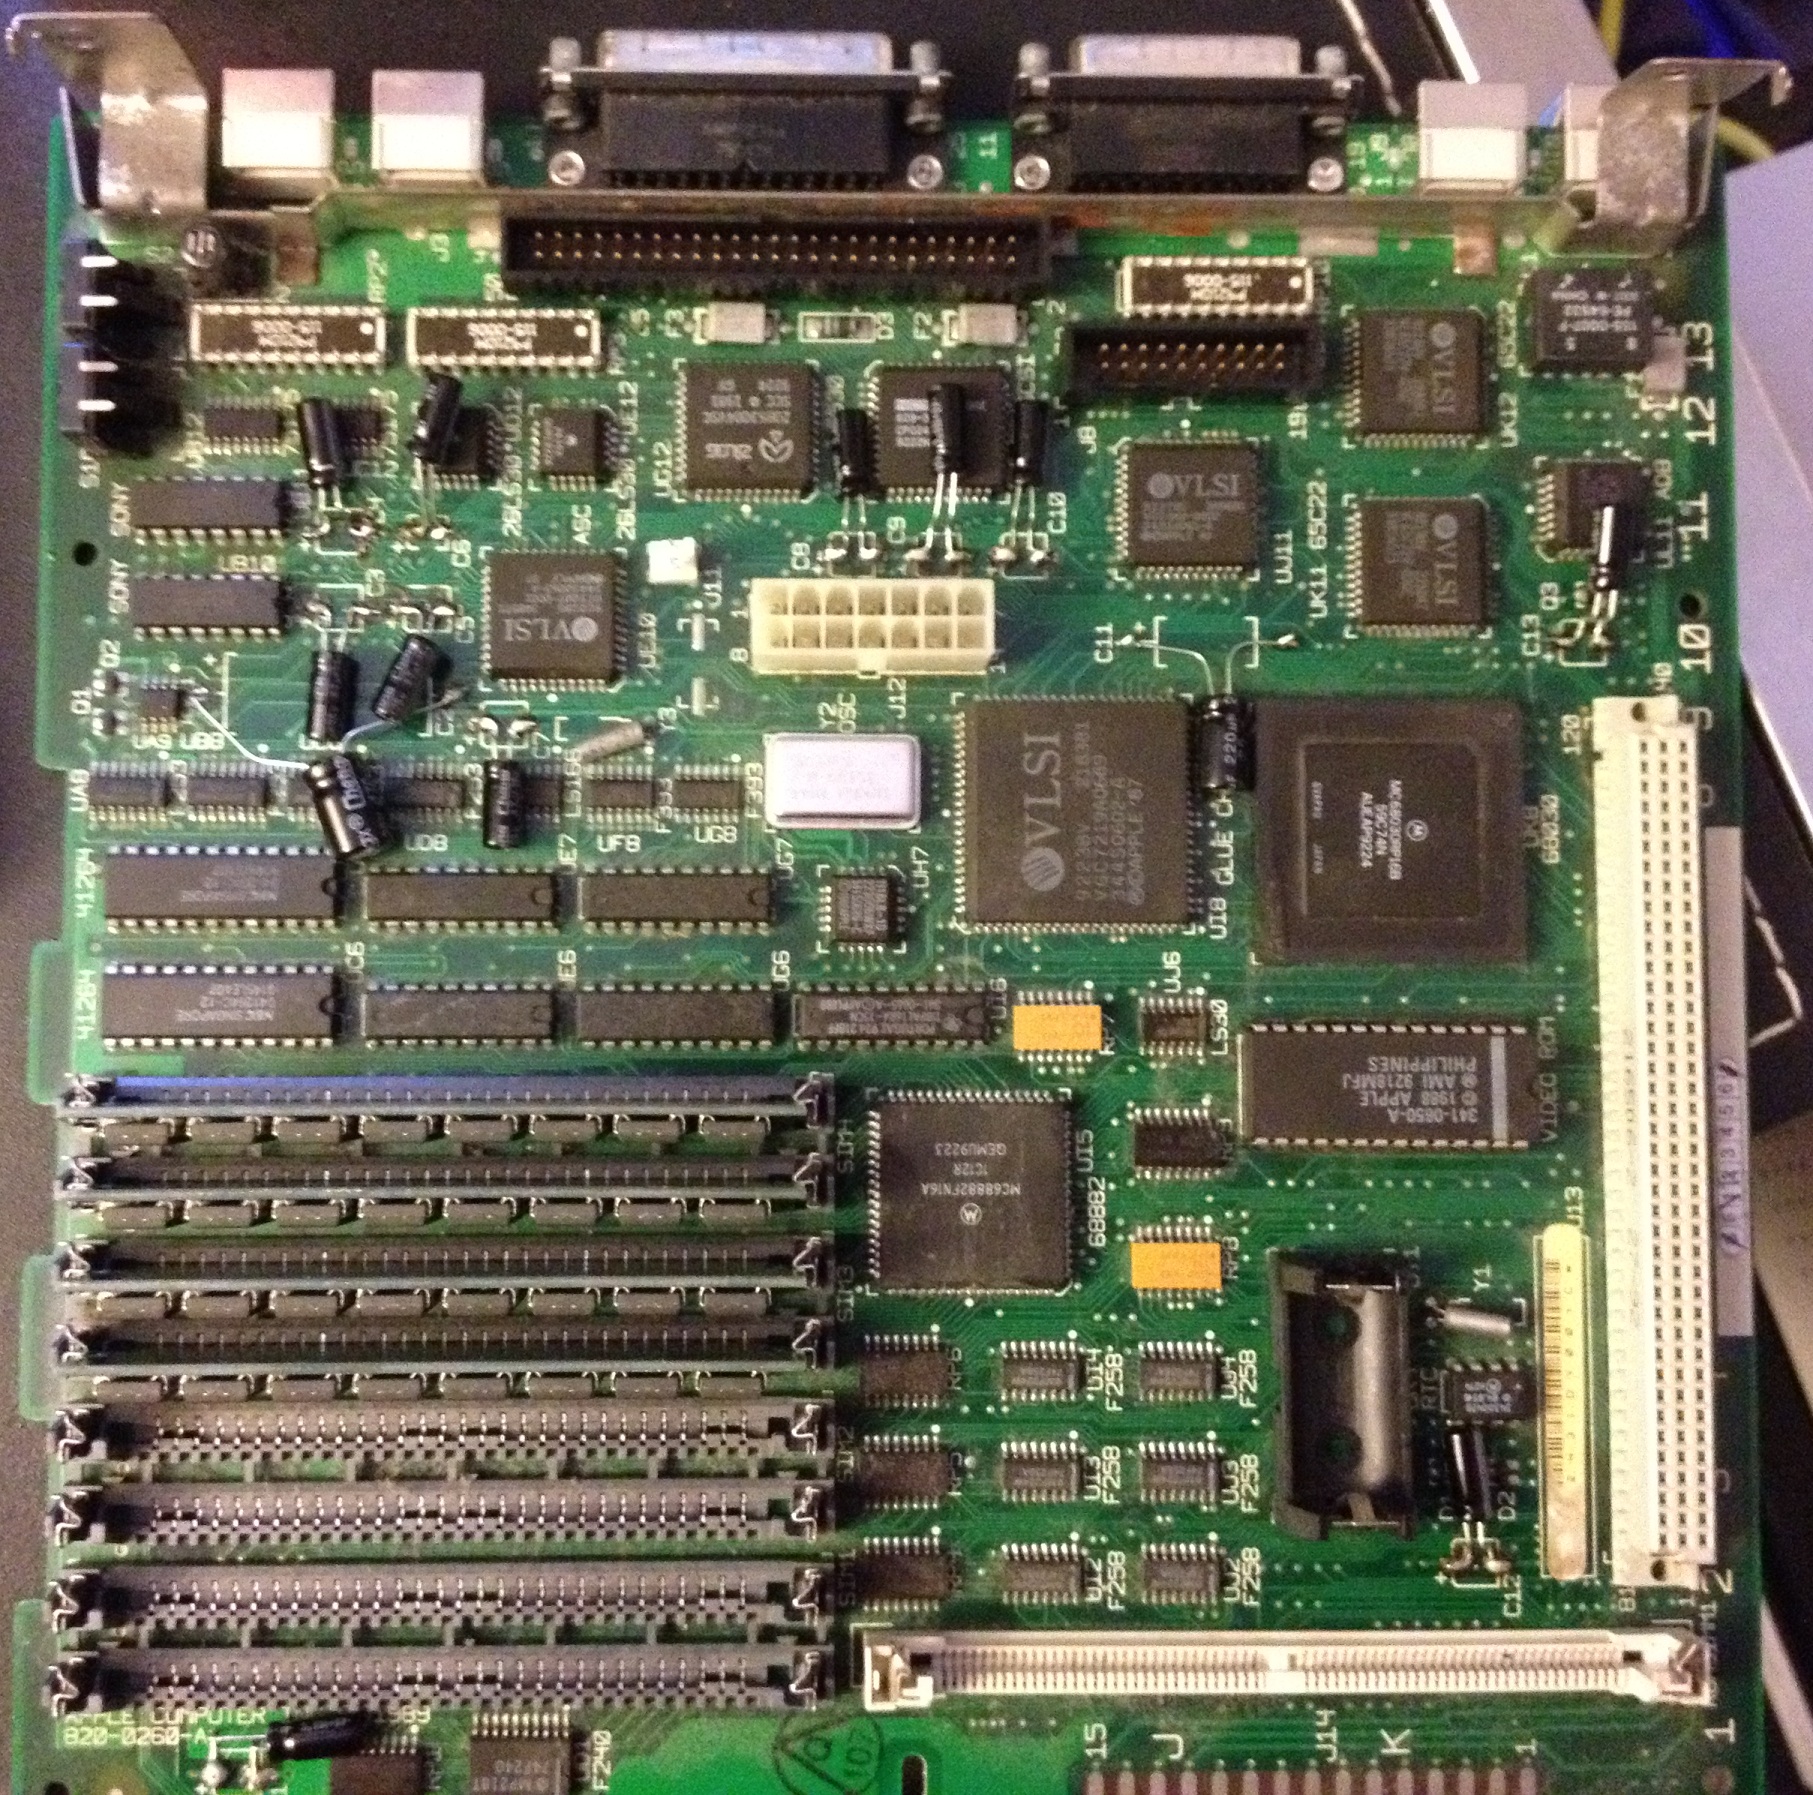
I made a photo with capacitor values so I would remember after I pulled the caps off, I will attach it here (I did not mark the voltage values, other than the 1uF caps which were rated 50volt, all of the rest were 16volt, I had no 16volt parts, I recapped all mine with 50volt rated parts).
When this photo was taken I had already replaced the two 10uF nearest display header, you can see I have used radial caps and just bent them over to fit. After this photo I got as far as all the 1 and 10uF parts in the lower right near mouse port. I still need to do the 1uF parts near debug/reset buttons and near keyboard port and ALL of the 47uF and 4.7uF parts (though none of those have leaked, yet!).
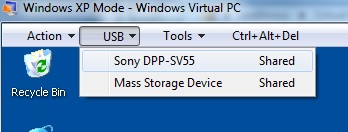
So I decided to pull out my old Sony dye sublimation photo printer which I hadn’t used in some time, only to find Sony dropped support for it after Windows XP.
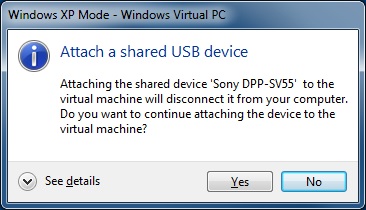
After hearing about other peoples success with old scanners under “XP Mode” I figured I would try with this old printer, and it worked like a champ, minus a few flaws of “XP Mode” itself. I will provide a basic overview of how to get it working below.
Installing “XP Mode” is out of scope for this tutorial, I am sure there’s several guides out there on this topic, this document will assume you have it installed and working already.
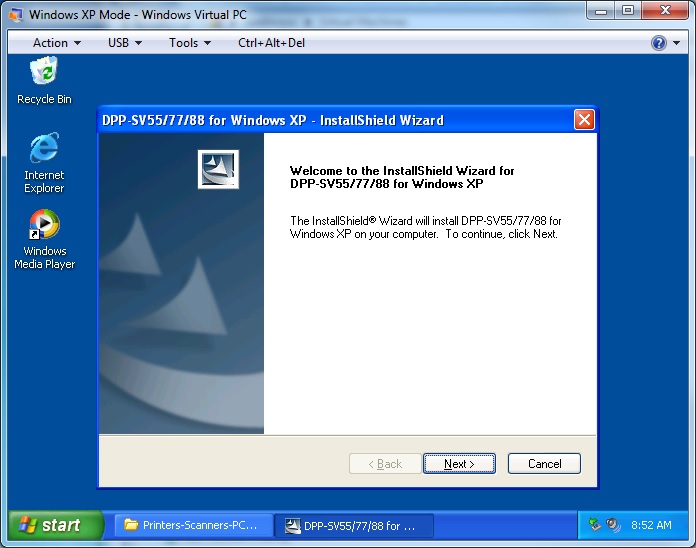 (this will fail if the printer is not attached following steps 1 & 2 because the installer checks for the presence of the printer).
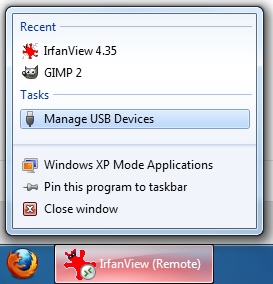
On a side note, unrelated to the virtualization used to get this printer working, the Sony printers have always over-saturated reds in their prints, I have found that in IRFANVIEW under Image > Color Correction (SHIFT-G) if you bump the R down to about -20 or -30 and in SOME cases bump B up to about +10 you will get spot on prints that should match your screen, the program even allows you to “save these values” as defaults for future use, so in the future to print just SHIFT-G, ENTER, CTRL-P, ENTER to set the color correction and print in just a few seconds, also note this does NOT touch your original image’s color, just whats displayed and printed for this instance of the image in IRFANVIEW. These features are one of the main reasons I chose to use this IRFANVIEW as the default application for printing with my DPP-SV55.
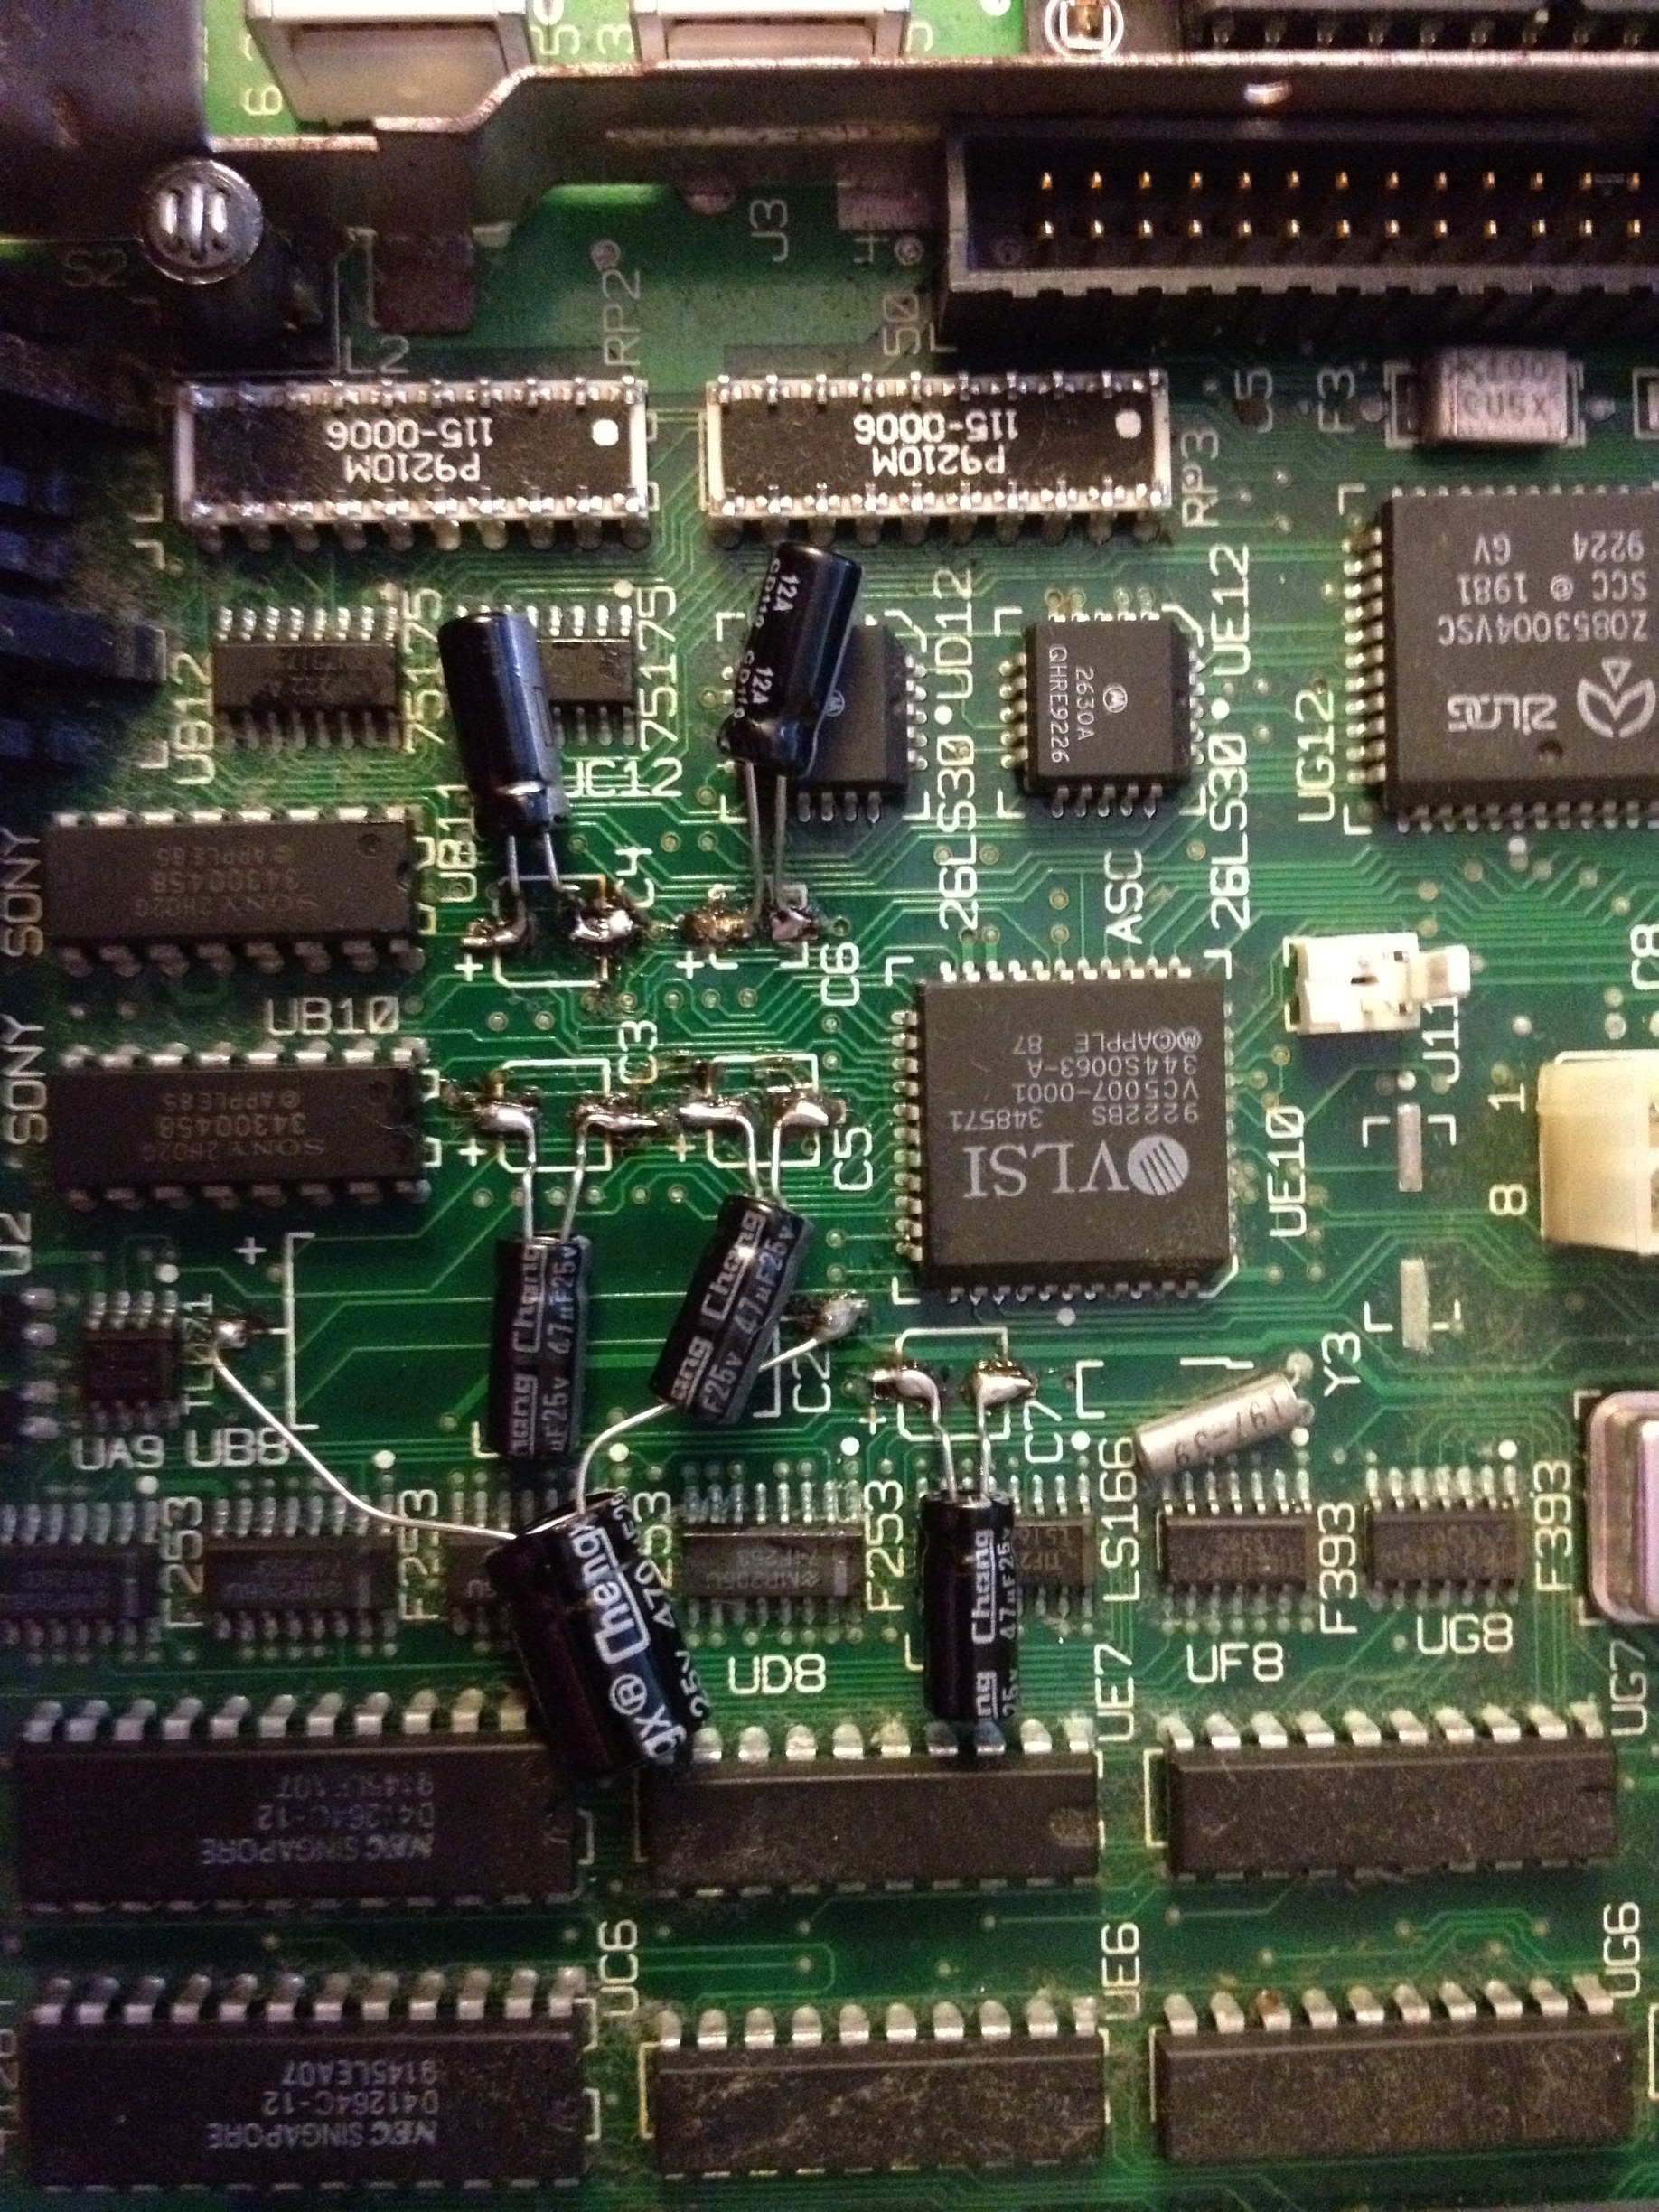
Won’t win any prizes, but I have recapped my SE/30 and restored it to 100% working condition. Next Mac I recap I will be ordering and using tantalum capacitors, I was anxious to get this SE/30 working so I used radial electrolytic capacitors I already had on hand, looks like crap, but at least it works again.
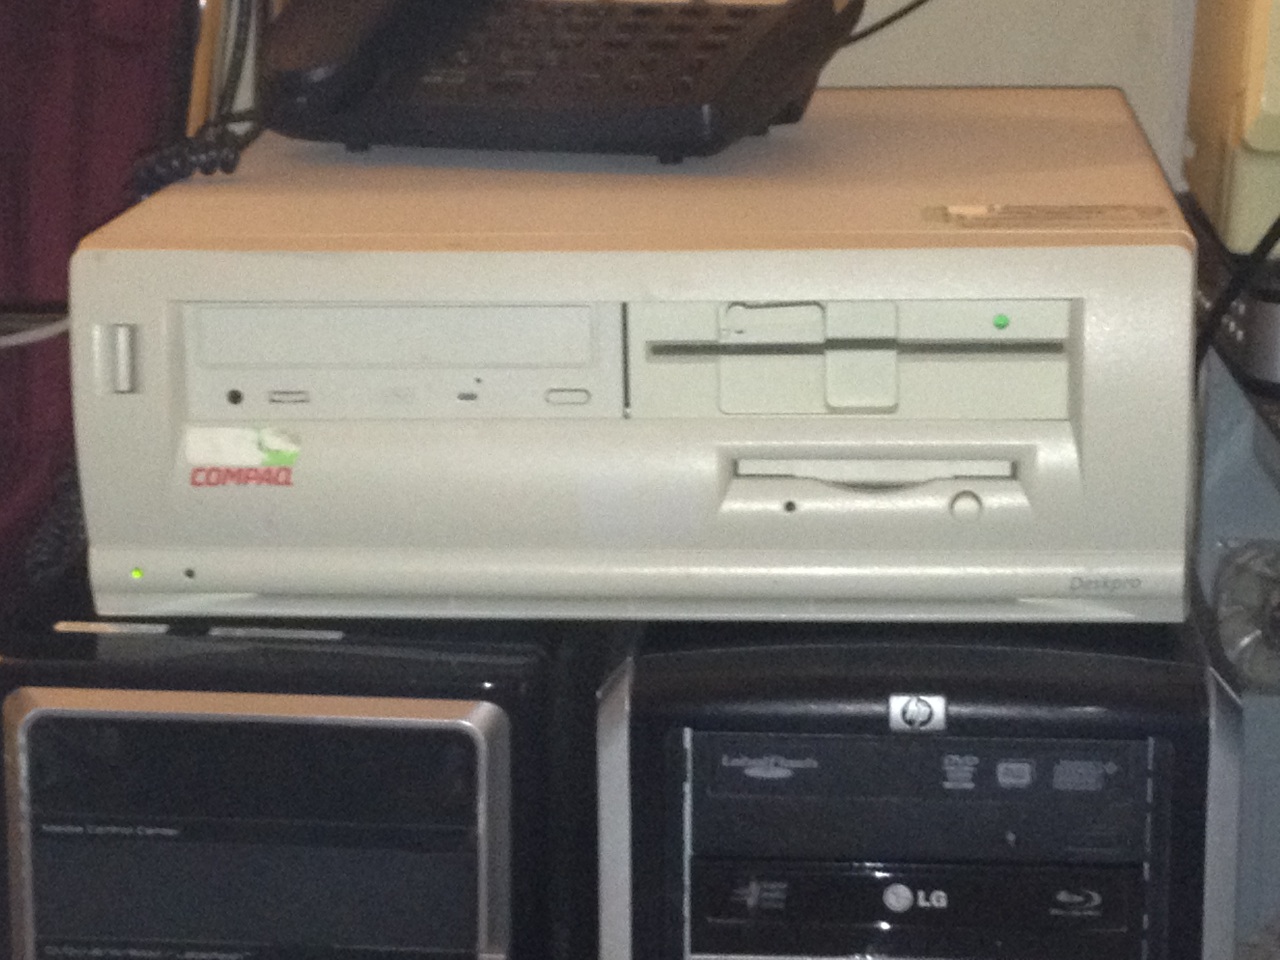
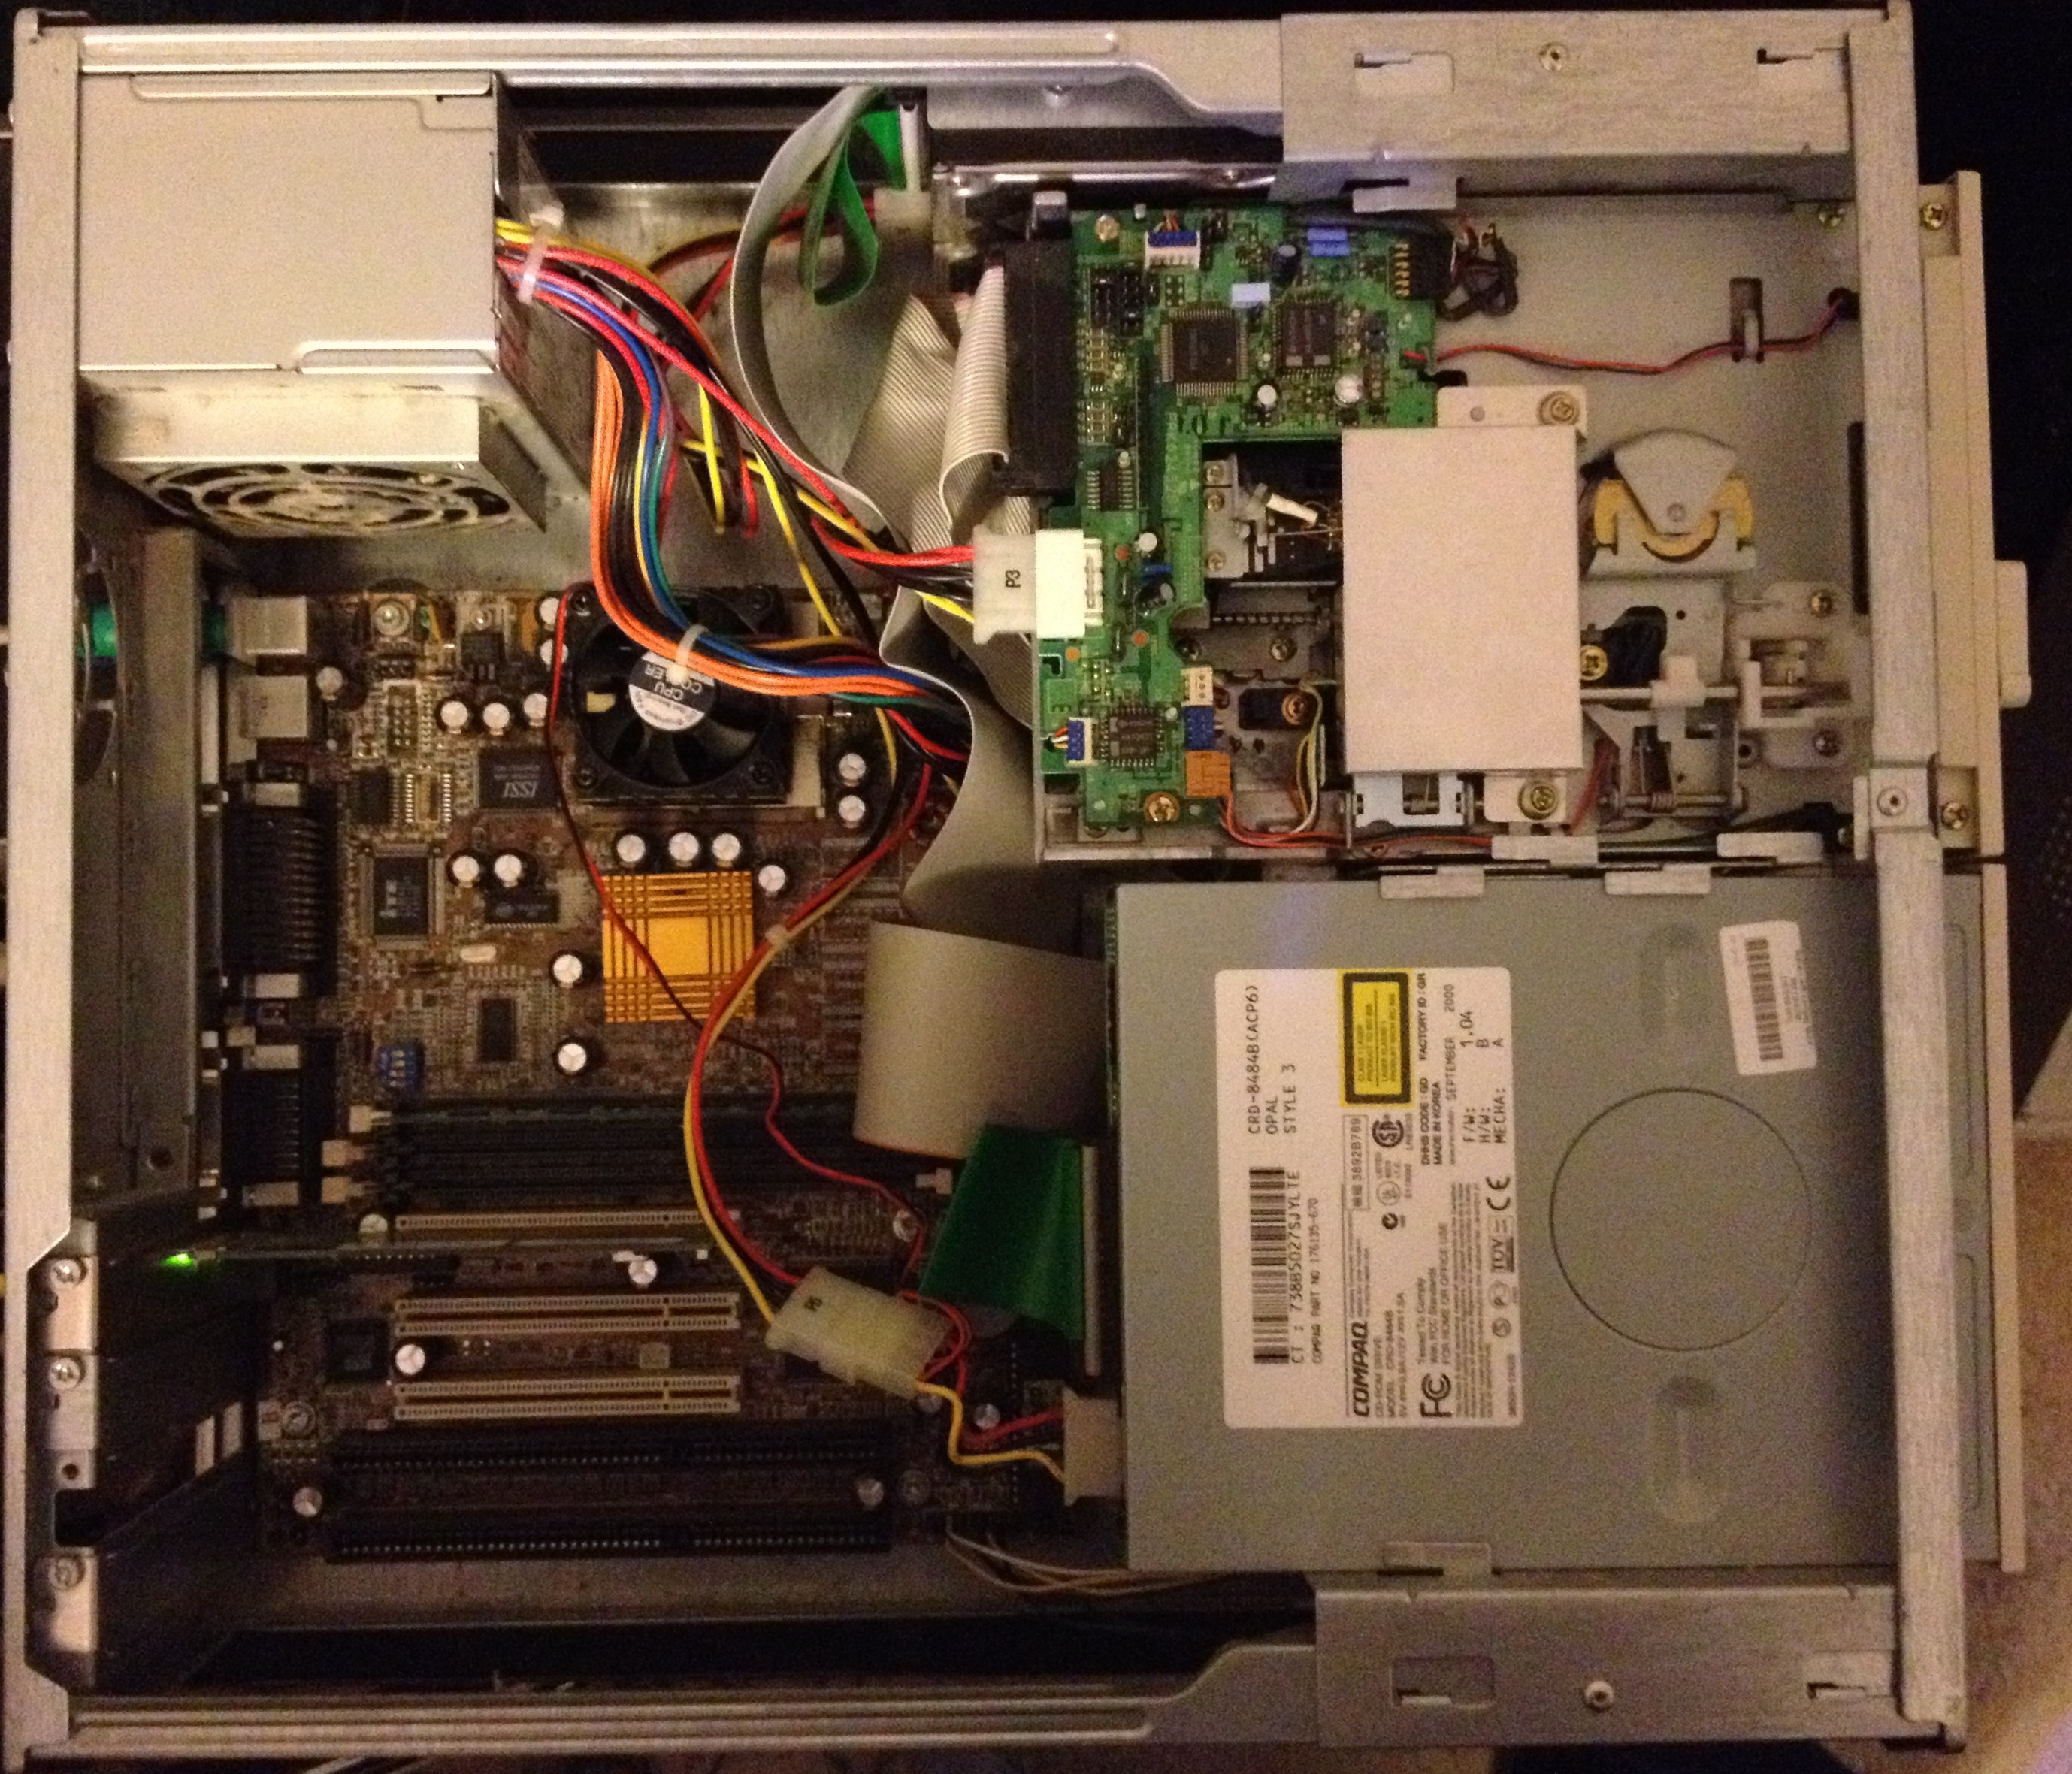
I knew I had a super 7 board with ISA lying out in the garage in parts box, found it was a Gigabyte GA-5SMM with a Cyrix 266 in it. Took a scrapped Compaq DeskPro EXD desktop style mini-ATX case (originally a Celeron 800 by its sticker), 20gb HD, 128mb RAM, CD-ROM, 3.5 & 5.25″ floppies, Intel Pro/100 NIC and tossed it all together to make a new rig.
Got Win95b loaded up on it, don’t have USB working yet, but the rest is running like a champ. I haven’t investigated the USB issues, but I believe the driver was just not part of any of the packages on gigabytes site, I might need to dig around SIS’s site for a while to see if they have 95b drivers for the USB chipset. USB is not real critical to me in this build though, since any file transfer will likely be from the network, but it would be nice to say its working ![]()
It’s kind of ironic I stuck this in a Compaq case, because I guess this particular GA-5SMM was out of a Compaq with its nice big red “Compaq” BIOS splash screen.
Well I have added some more content recently, getting close to where it was before the site was hacked.
Well my site is back online, however all the content is going to have to be recreated, so bear with me.
Remember kids, always keep current backups.